Monday, 16 January 2012

Revamp a Lamp!

Lampshade Tutorial


You will need:
A lampshade
Fabric (how much will depend on the size of your lampshade)
Spray adhesive
Fabric glue or glue gun
Pegs
Large table cloth or covering
Trimmings (optional)

This project is so simple yet so effective.
Before and After
Step 1
Lay out the fabric
Roll the lampshade, holding fabric alongside, mark in pencil when the end meets


Most lampshades are cone shaped so make sure you have enough fabric before cutting


Step 2
Iron hem of outside edge


Step 3
Spray wrongside of fabric with spray adhesive
(use a very big table cover or cloth and ensure you are in a well ventilated room - the stuff goes everywhere!)
Spray rightside of the lampshade


Step 4
Carefully place the lampshade on the fabric end
(match to the original seam to ensure that it will not show through when lit)
Then gradually wrap and smooth the fabric over the lampshade
(make sure there are no spare threads or other residue as it will show up)

Step 5
Use fabric glue or a glue gun to secure the edge with pressed hem on the outside


Place a peg or two to secure then place a book or kitchen weights to hold in place


Step 6

Trim excess fabric from the top and bottom
Leave only 1-2cm allowance for folding over, 
as before if there is too much seam it will show through when lit (which is exactly what I did and when I turned it on, I was really disappointed and spent all night tossing and turning thinking about ways in which I could fix the mistake)  


Cut short slits where frame is secured, normally at the bottom

Step 7
Apply fabric glue  to the fabric and original lampshade top trim
You can use a glue gun, I preferred not too as it is too hot for such a fiddly task, however this would probably be the most secure fastening
Gradually press, smooth and mould the seam around the circumference of the top
Use pegs to secure as you go
Leave to dry


Step 8
As above for the bottom of the lampshade

Step 9
Add trimmings of your choice
I used pink pom poms from the Eternal Maker and secured it with fabric glue, pinned on while drying with pegs


Your revamped lamp is complete you now have a brand new one off lampshade - Congratulations!


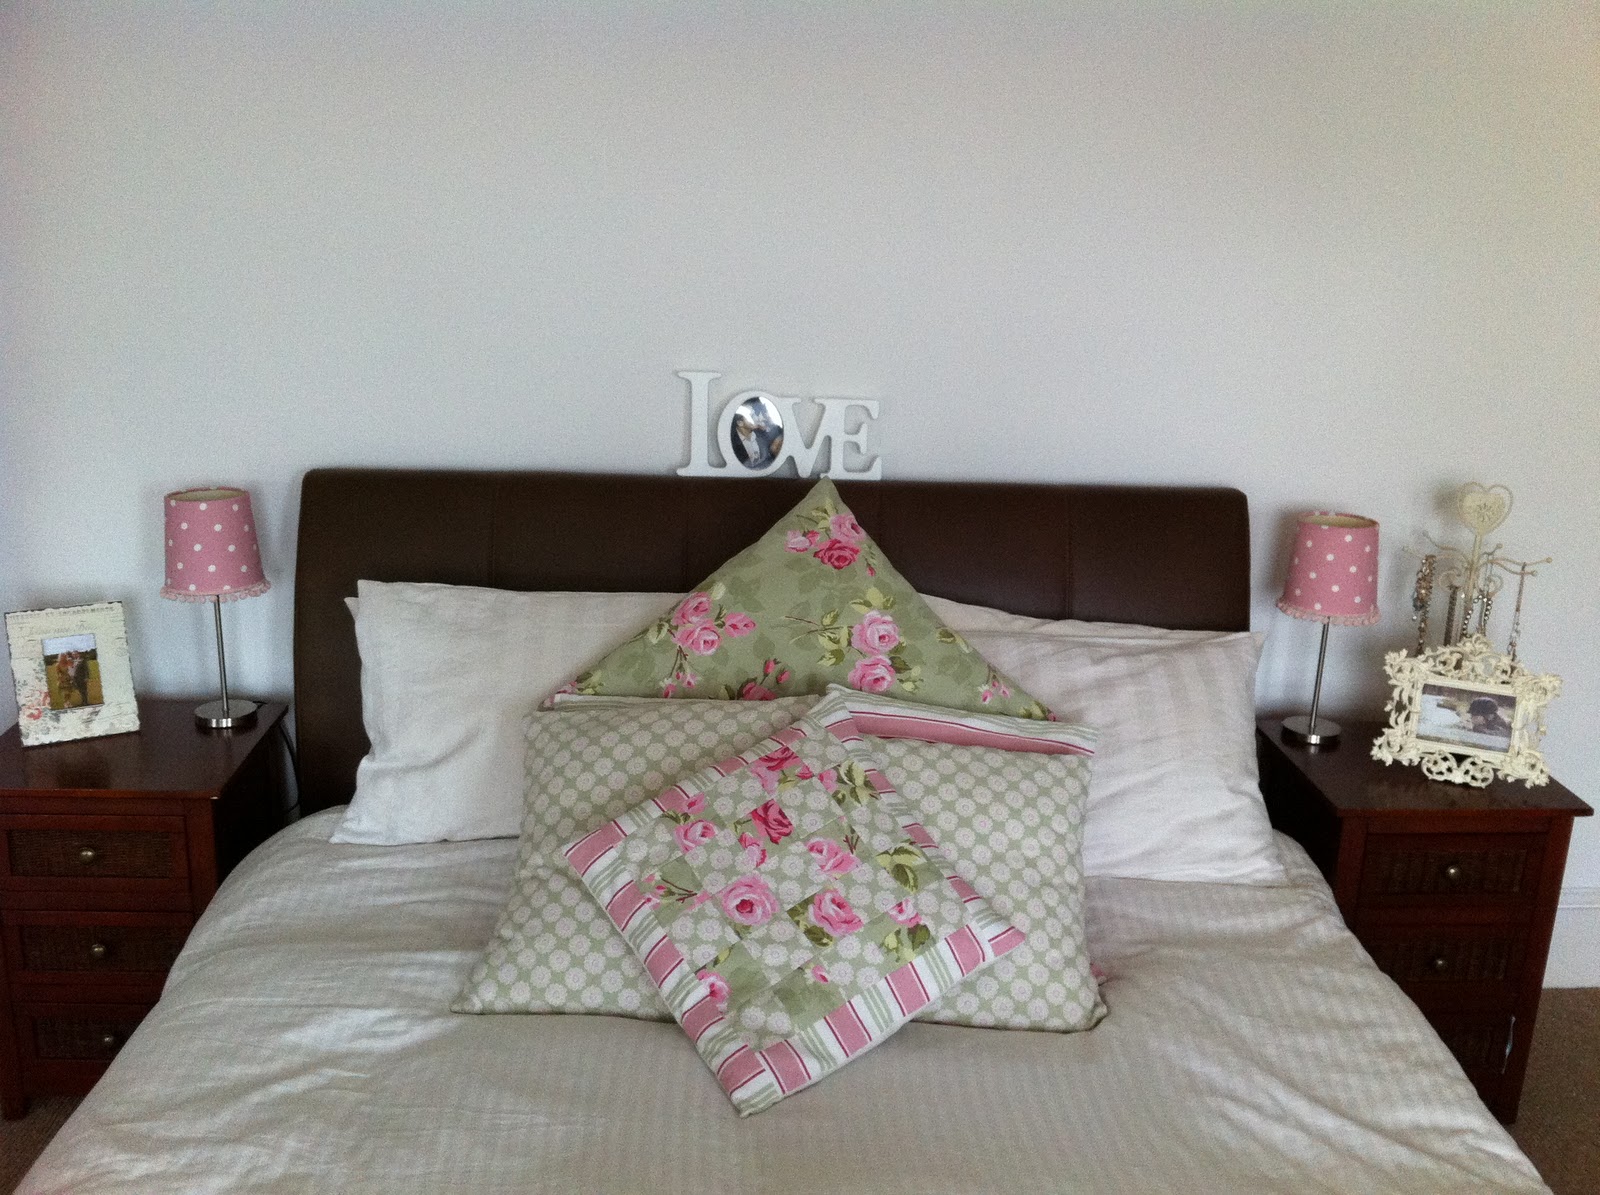
The next project for the main bedroom is covering the headboard.  Tutorial to follow.


I have to admit I am perfectly pleased...


Nice to see you again

Xxx


Lamp Inspiration


Sunday, 15 January 2012

Happy New Year - 2012


So here we are 2012.

It is already the 3rd week in January and I have only just got the chance to wish you all a happy new year! 

I am not sure about resolutions.  I don't know about you but I am my own worst enemy and put myself under so much pressure, and when it comes to setting resolutions I am no different, when the clock strikes 12, I usually go  big on ideas!

Apart from the annual get fit target.


There are usually resolutions that turn up every year!
  • Give more time to my husband 
  • Cut out sugar
  • Be happy
  • Stop picking and biting my nails
  • Find a new job
  • Do more for charity
  • Save money
  • Go on a self spending spree ONLY when I have the money
This year I have decided to do something different.  I am going to work on new projects and learn new skills.

Ironically one of the original new years resolutions was to not take on so much! But here goes.

  1. Learn how to cover a lampshade
  2. Build and maintain a healthy vegetable patch
  3. Make a log store
  4. Frame photos and create a photo wall
  5. Organise more storage solutions
  6. Introduce lots of colour
  7. Learn to bake
  8. Plenty of mini projects with Pop's
  9. Landscape the garden bit by bit
  10. Recondition second-hand furniture


I would still like to think I can  work towards the bigger ones but with much more realistic expectations.  In the meantime I would like to enjoy time spent on the new projects and the skills I acquire along the way.

I will of course be sharing all the the ups,downs, trials, tribulations, successes, failures, the laughs and tears with you.

2012 will be the year of blog tutorials for allthingpp so keep visiting to join in with exciting projects.

What were your resolutions set for 2012.  Please share, I would love to hear them.

Time to get the trainers on for a Sunday morning run - isn't it one of the most satisfying when complete!


Nice to see you again

Xxx

Friday, 6 January 2012

The Christmas of Past

Wow where did that go!

We had an amazing year this year, all because of a perfect little poppet.  She is at the age now where you believe in all things Christmas!  Every little moment shared took me and my husband back to our youth and Christmas' of past.

I completely overwhelmed myself with far too many Christmas craft projects this year, leaving it all far late.  This explains a rather quiet December blog.

I wanted to share my heart decoration tutorial with you in plenty of time for Christmas, but I never got a chance.  I promise to share with you in plenty of time for next year.


In the meantime here is my Christmas in pictures.


Can I have a trampoline please?


A Christmas Eve Kiss!


 Reindeer dust so Santa knows where to land his sleigh.


Carrots for the reindeer, letter to Santa and handmade mince pie from Auntie H. x


 Fill it up please I have been a very good girl!


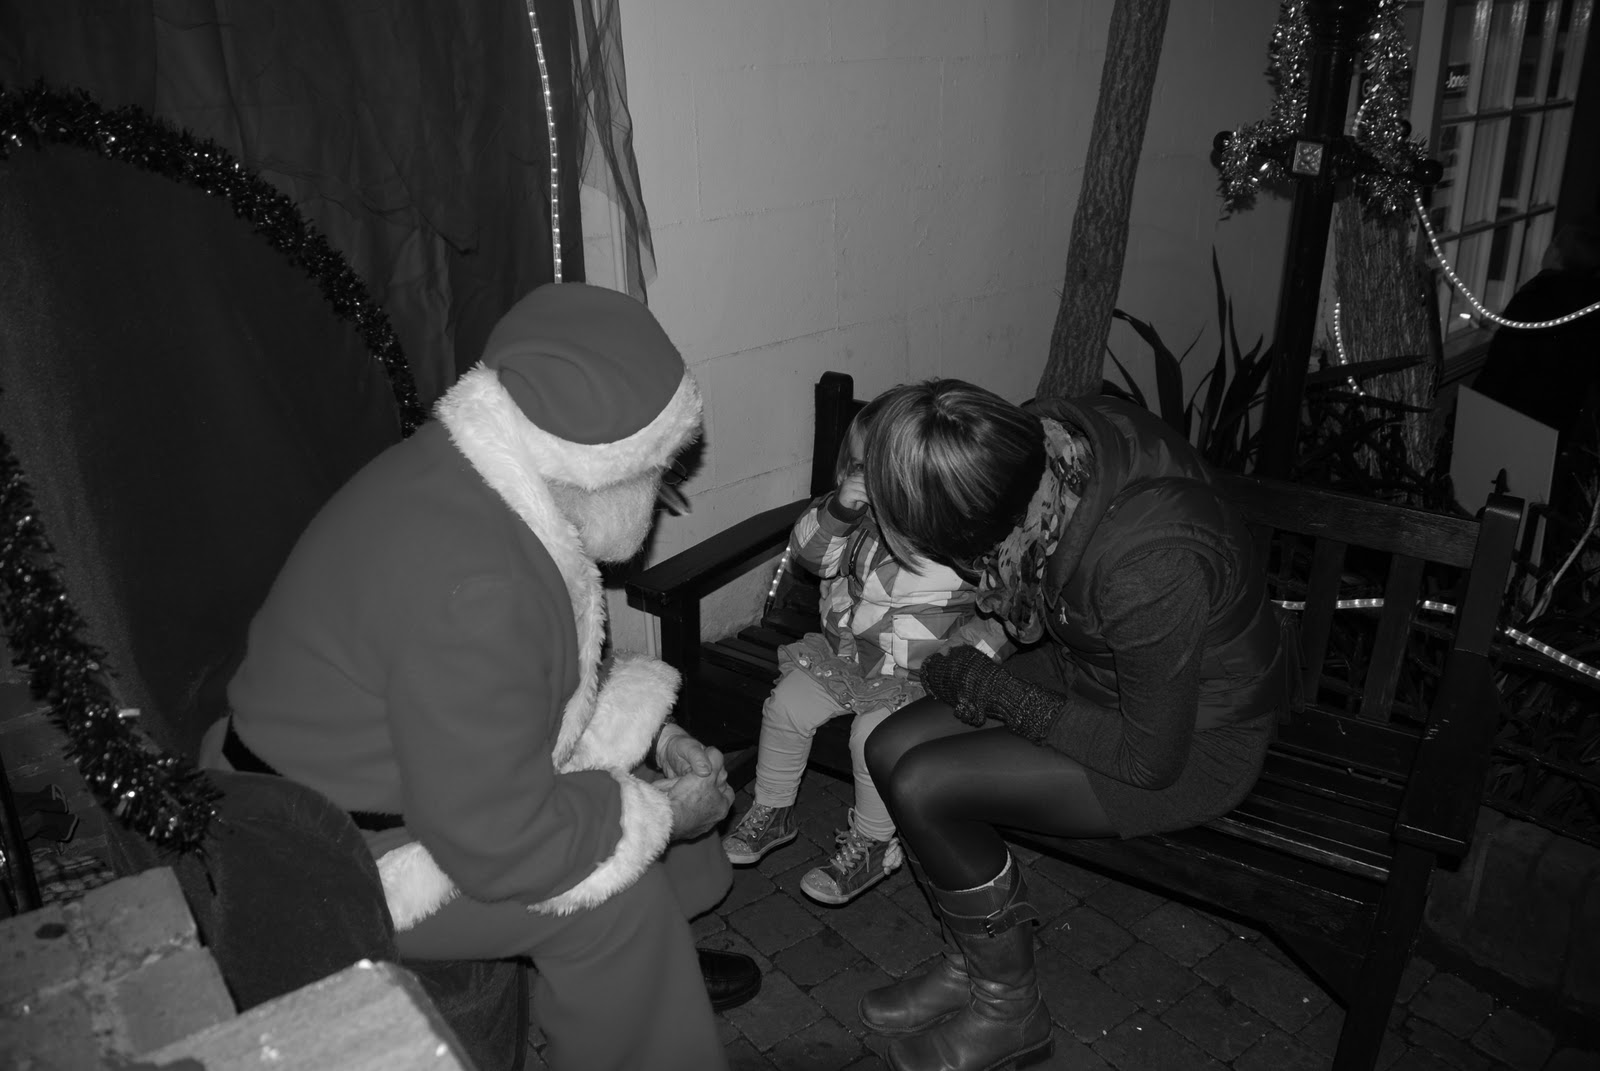
 Santa's coming!  I can hear him.


 A trampoline - wow!


Did anyone else get a remote controlled flying Nemo?


Really enjoyed a week off with the Pigs - lots of walks, meeting friends, a few drinks and open fires.


 A christmas card from my love - it has pom poms - love it.


A quad bike and an easel - what more could a girl wish for.

Hope all your Christmas wishes came true too.

Nice to see you again!
Xxx