


When I first painted the bench I left it in its original home, under a beautiful silver birch. I loved how the branches created the perfect dapple shade for what is a very sunny spot. Unfortunately this silver birch is also home to some of our pesty pigeons! So the bench very quickly became covered in poo AGAIN!!!
So I have now found a new home for the bench, against the outhouse. The only problem I had with it's new home is the classic cream against white. The bench no longer stands out, like it did before in front of the wonderful flint wall.
So with a big annual family BBQ coming up this Sunday, I was under pressure to pretty up the garden, the garden bench seemed like the best place to start.
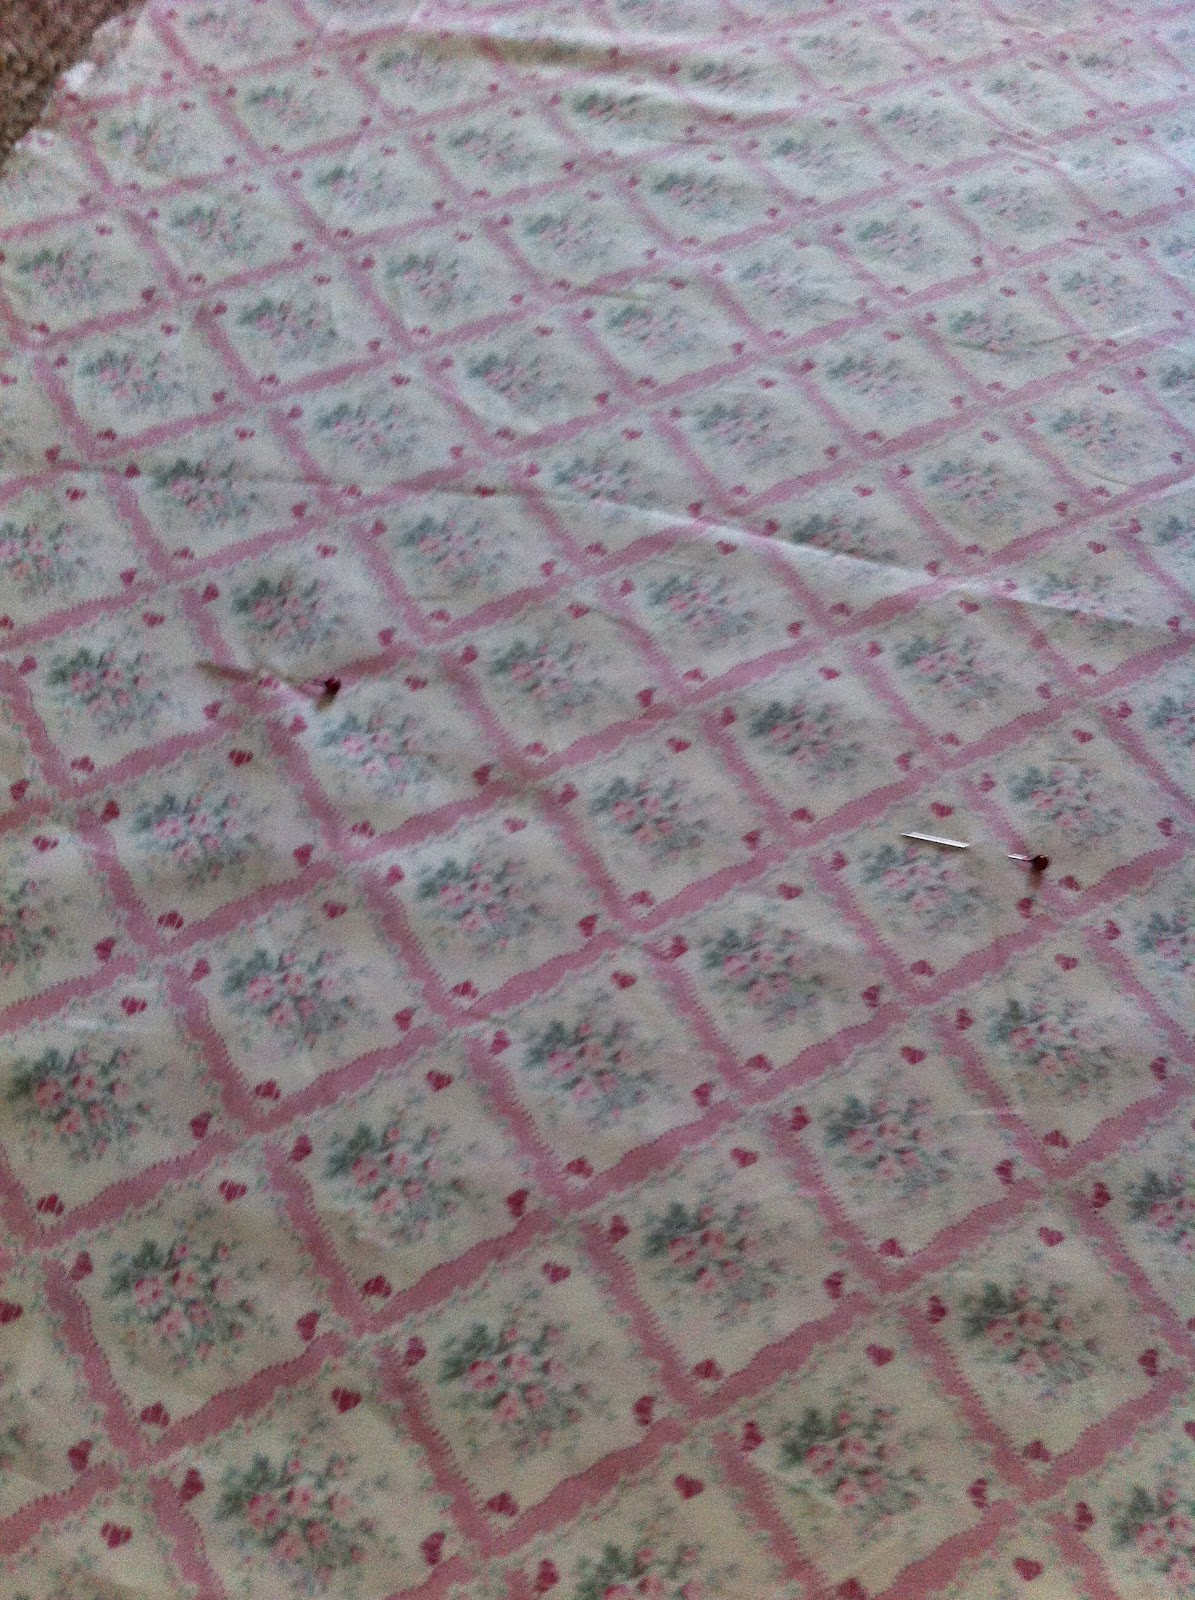
I managed to get some beautiful pink and green floral fabric from The Fabric Shop in Worthing for just £6.99 a metre.


Here is the step by step tutorial - Make Do and Mend - Garden Bench Cushion

You will need:
Fabric of choice
Foam cut to size of bench (I always get mine from here although this time I thrifted some off M&D)
Buttons
Scissors
Thread
Pins
Tape Measure

Step 1
Measure the foam length and width, add an inch to each (for seam allowance) also add the depth of the foam, mine was 1 inch, so I added another 2 inches to width and length. I also added another 2 inches to the length (optional). See step 8.

Step 2
Fold the fabric in half right sides together, cut out desired length and width.

Step 3
Pin the two pieces of fabric right sides together all the way round, leaving a good opening on the length (to insert the foam later)
Step 4
Sew all pinned fabric on the machine, leaving the opening.

Step 5 (optional)
Zig zag stitch all the way round to ensure minimal fraying
Step 6
Turn right-side out, poke corners
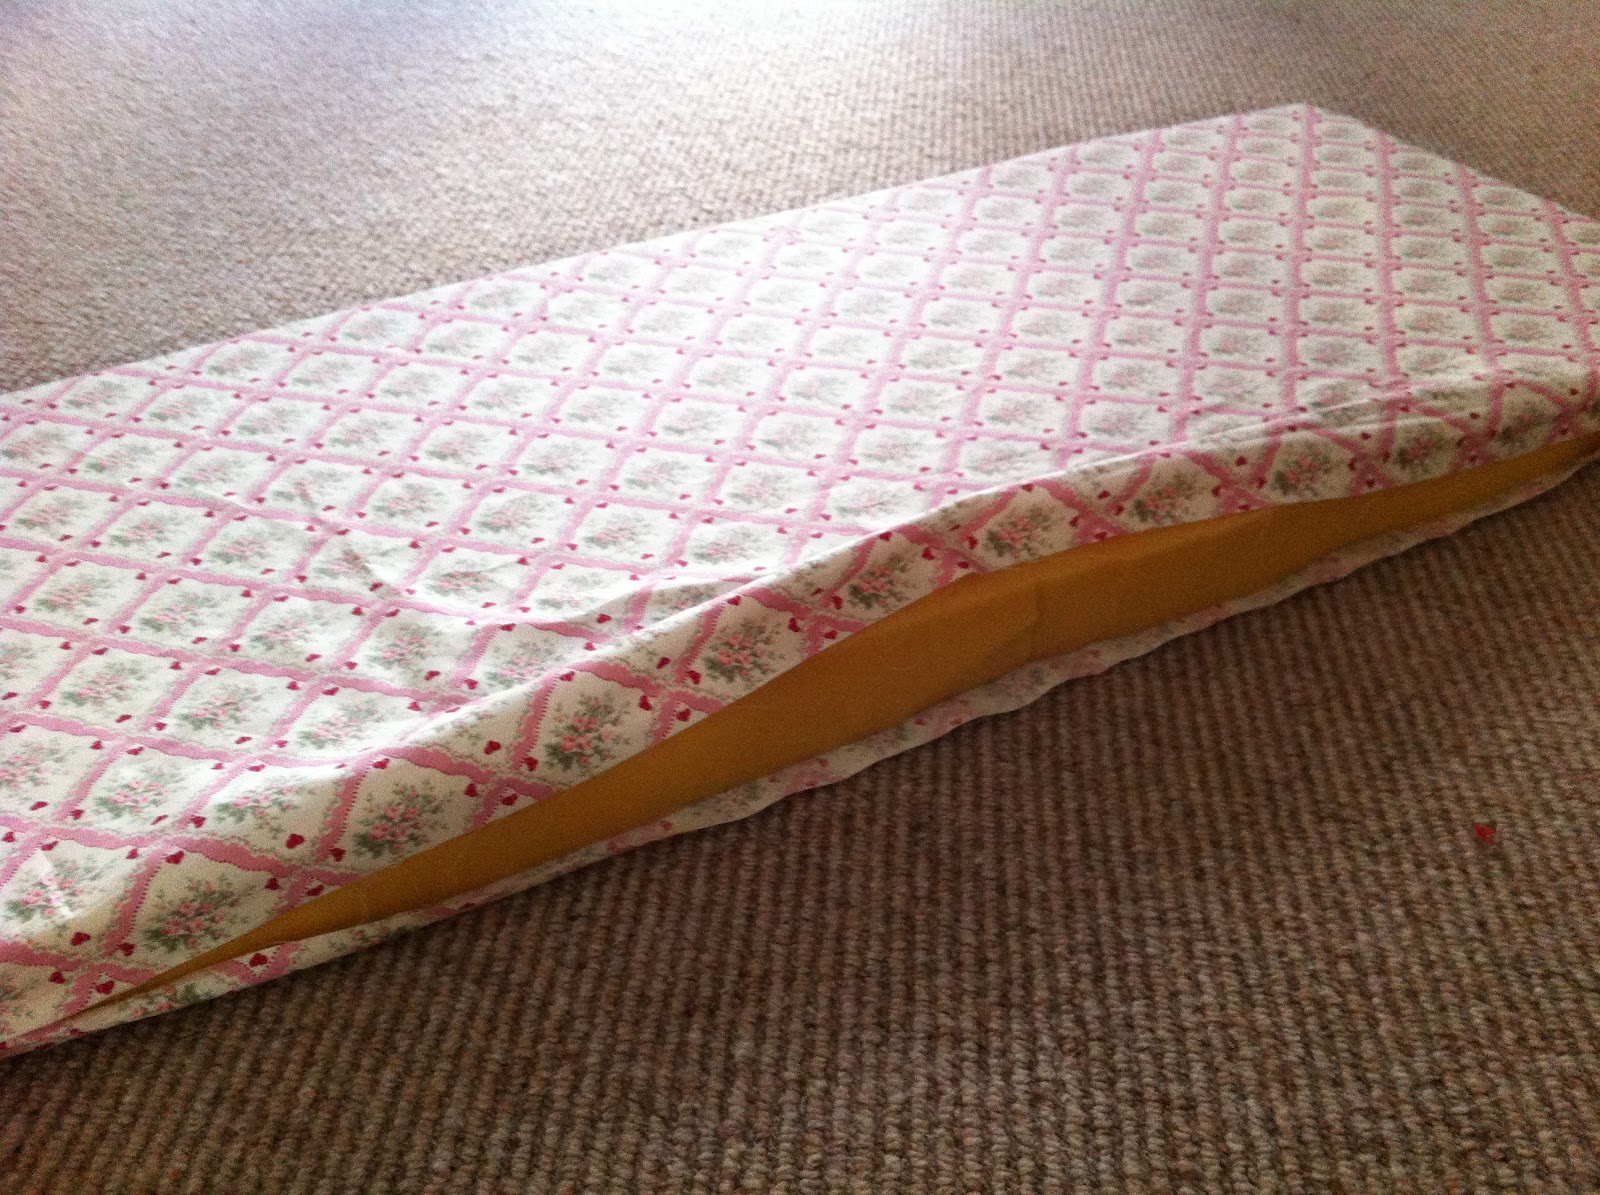
Step 7
Insert foam, then pin the opening and secure with a slip stitch.


Where I added an extra 2 inches to the length at each end of the newly covered cushion I had an inch of residue fabric at each end to which I added a random selection buttons.


Congratulations your Garden Bench Cushion is Complete!
I have tried to make this tutorial as easy to follow as possible, however, the creative possibilities for decorating and making your garden bench cushion are endless. I even added a back for the bench with ties.
Nice to see you again.
Xxx
A cushions set for garden bench can be a bright and cheerful additions to your garden. It depends on you how you want to decorate it. Well, I get very impressive and informative info here to make some home made garden bench cushions. I will sew some for myself.
ReplyDeleteThanks