


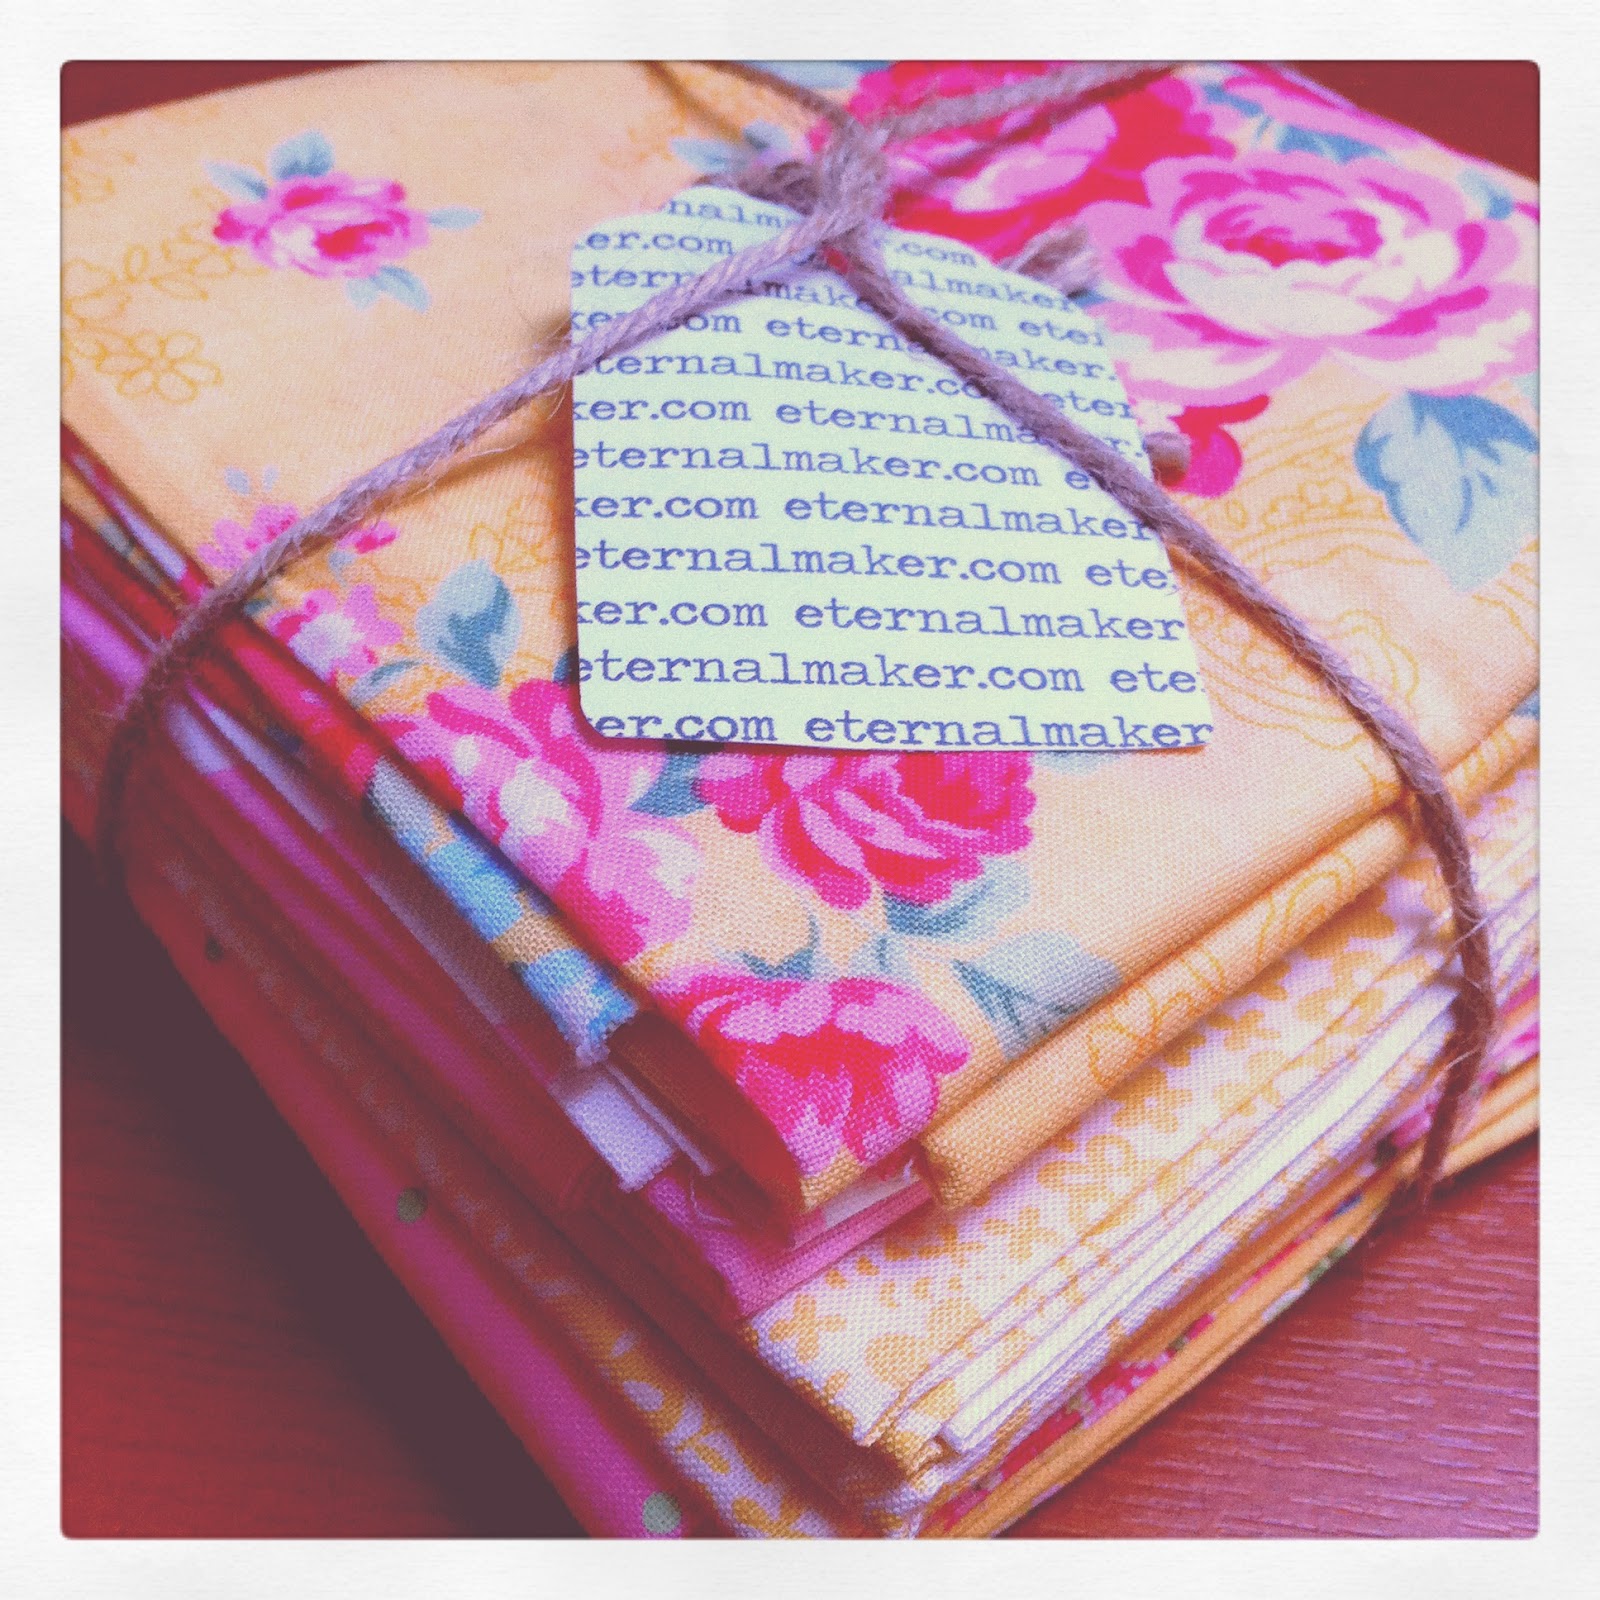
So I managed to secure myself the most beautiful bundle of fabric yesterday. As always eternal maker never stop inspiring me with the most wonderful, varied and original fabrics. On this visit though I was in a rush and did not have the luxury of mooching through the fat quarter section to create my own mix, so thank goodness for their pre-selected bundles.

It is Little Miss P's 3rd birthday party on Monday, so as always in a last minute rush I am only just commencing a collection of crafty projects for the main event (only 4 more sleeps, I hear myself say!)
This project however is a complete breath of fresh air! Bunting is so easy and this creation took less than hour from start to finish (with a few distractions in between from the little lady herself).
You will need:
Cardboard (for the template)
A selection of material (scraps will do)
Pencil and ruler
Pinking shears
Bias binding
Pins
Sewing machine
String (optional)
*There are no specific measurements to this tutorial, which is how I like it. I am not very good at following written instructions myself and maths has never been my strong point, so I do what works for me. I think you should do the same, it is so much more fun!
Step 1.
Draw a triangle template onto some cardboard. Mine measured 18cm across the top. The size is entirely up to you. Then cut out the template.

Top Tip: google any shape template and you will find an example on line or just be brave and cut free hand, bunting does not have to be symmetrical or exact!

Step 2.
Pin the template to the fabric. Then cut around the template using pinking shears.

Repeat for as many triangles as you need.
Top Top: If your are confident in your scissors then you could fold or layer the fabric and cut several at one time.
Top Tip: If you don't have pinking shears cut with normal scissors then sew a seam all the way around the inside of your triangle approx 1 cm in (this will prevent it from fraying too much)
Step 3.
Iron your bias binding in half. Place each triangle in the fold of the bias binding and pin in place. Repeat with each triangle creating your own desired pattern. Or don't follow a pattern, there are no rules.


Step 4. (optional)
I decided to add string loops at the end of my bunting so I could attach it quickly to a branch, fence or trellis.

Sew in a very straight line, along the whole length of bias binding. Ensure the tops of all your triangles are tucked in.

Congratulations - Birthday Bunting is complete!


Nice to see you again.
Xxx
Looks amazing!! I shall be trying this :-) Thank you xxxx
ReplyDelete